Official Joyor E-Scooter Technical Support & Documentation Portal
Whether you need to configure your scooter’s personalized P-settings, resolve an unexpected dashboard error code, or source OEM replacement components, having access to accurate technical documentation is essential. This official Joyor E-Scooter Support Guide consolidates user manuals, LCD display error diagnostic tables, and spare parts identification for all flagship models including the Joyor T Series (T10, T6) and S Series (S10S-Z, S5).
1. Dashboard Diagnostic & LCD Error Code Reference Chart
Modern Joyor electric scooters feature intelligent onboard diagnostic systems that display real-time fault codes on the central LCD display screen. If your scooter shows an error indicator icon or error number, refer to the diagnostic troubleshooting matrix below:
| Error Code |
Identified Issue |
Potential Cause |
Recommended Action |
| E-01 / E-02 |
Brake Lever Signal Fault |
Brake lever cut-off sensor stuck or disconnected |
Inspect brake lever return spring and verify wiring harness connector tightness. |
| E-03 / E-04 |
Throttle Signal Error |
Hall sensor inside thumb/trigger throttle damaged |
Check throttle cable pin connections; replace throttle assembly if voltage output is erratic. |
| E-05 |
Under-Voltage Protection |
Battery voltage dropped below BMS cut-off threshold |
Recharge battery completely with official charger. Inspect battery terminals if fault persists. |
| E-06 |
Motor Phase Line Error |
Motor Hall sensor disconnect or phase wire damage |
Inspect motor cable waterproof connector near lower swingarm; verify pin alignment. |
| E-07 / E-08 |
Controller Communication Fault |
Main controller bus error or display connection fault |
Check wiring harness between LCD screen and lower deck controller for pinch points or moisture. |
2. Accessing Official Joyor User Manuals & Quick-Start Guides
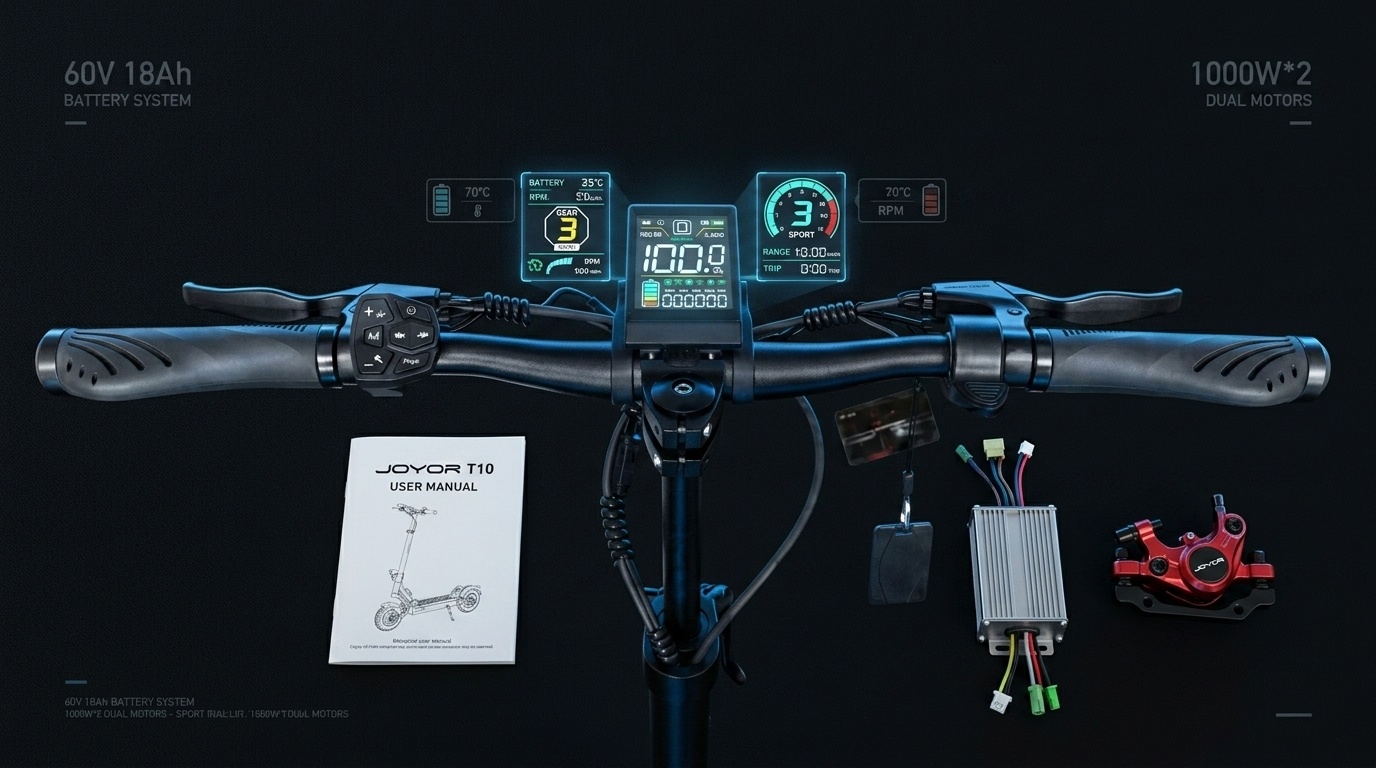
Official user manuals provide critical information regarding initial assembly, folding mechanisms, NFC keycard pairing, and safety guidelines. Download digital manual copies or review quick setups for popular series:
- Joyor T Series Manuals (T10 / T6): Covers NFC keycard setup, color LCD screen navigation, dual-motor power modes, and frame folding latch adjustments.
- Joyor S Series Manuals (S10S-Z / S5): Detailed instructions for 60V / 48V dual motor operation, hydraulic brake adjustment, spring suspension tuning, and off-road tire inflation specs.
- Urban & Commuter Manuals (A & Y Series): Guidelines for lightweight folding scooters, solid vs. pneumatic tire upkeep, and integrated headlight operation.
3. Genuine OEM Replacement Parts Directory
To ensure performance, structural integrity, and rider safety, always use genuine Joyor factory spare parts during repairs or servicing. Key replacement components are categorized below:
Electrical & Control Systems:
- 60V / 48V Brushless Motor Controllers: Pre-programmed factory motor controllers designed specifically for T10 and S10S-Z dual-motor power delivery.
- Smart LCD Displays & NFC Receivers: Plug-and-play central handlebar display units with built-in NFC reader integration.
- Lithium Battery Packs & Chargers: High-density 60V and 48V original lithium-ion battery modules with integrated BMS safety protection.
Braking & Mechanical Components:
- Hydraulic Brake Calipers & Mineral Oil Kits: Factory front and rear disc brake calipers and bleed tools for high-speed stopping power.
- Off-Road & Street Pneumatic Tires: 10-inch heavy-duty tubeless/pneumatic tires and heavy-walled inner tubes.
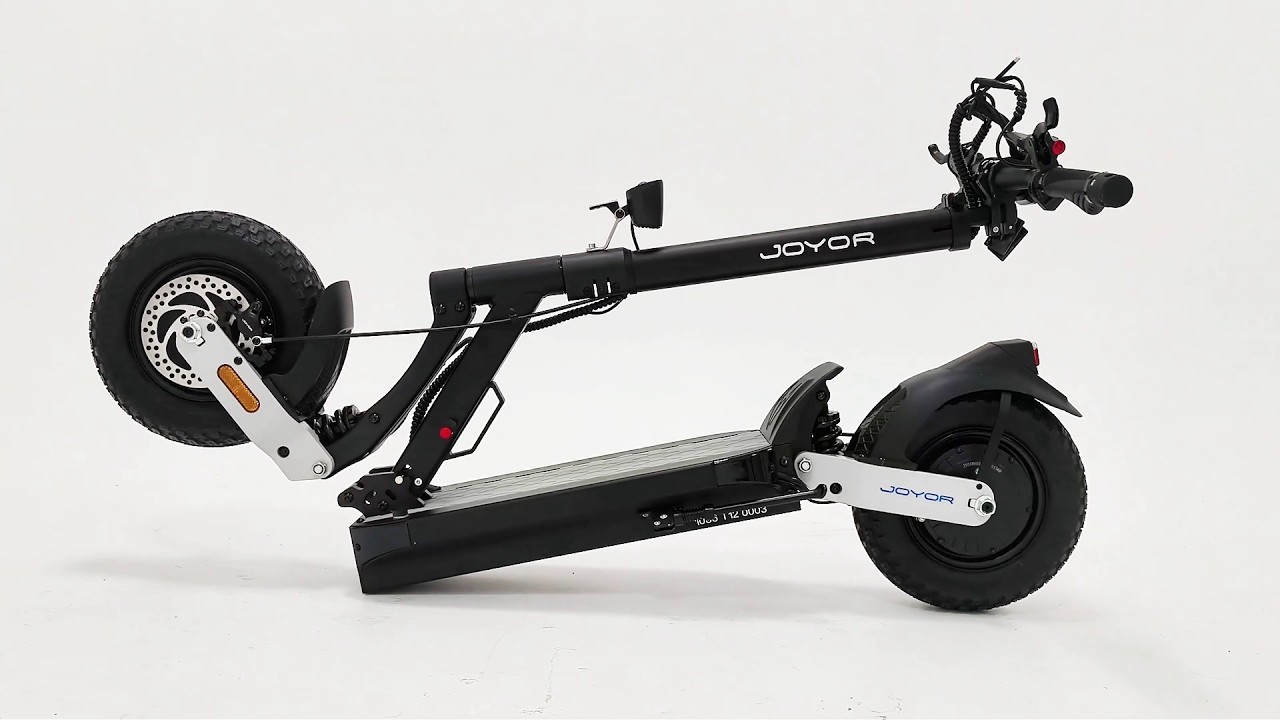
- Swingarms & Suspension Assemblies: Replacement front/rear suspension linkage arms, pivot bushings, and shock absorbing springs.
4. Preventive Maintenance Schedule for Peak Performance
Following a routine maintenance routine helps prevent unexpected system errors and extends component life:
- Every 100 km (60 miles): Check tire pressure (keep between 45-50 PSI for 10-inch off-road models). Inspect folding mechanism quick-release clamp tightness.
- Every 300 km (185 miles): Check brake pad wear; adjust hydraulic lever tension. Tighten swingarm suspension bolts and stem folding hinges.
- Every 1000 km (620 miles): Inspect wiring harness connectors for wear or moisture exposure. Perform a full hydraulic brake fluid flush.
Frequently Asked Questions (FAQ)
Q1: Where can I download the official user manual for my Joyor electric scooter?
You can view and download official digital PDF user manuals directly from our site under the User Guides & Support category. Manuals include P-setting charts, assembly diagrams, and safety guidelines for T Series, S Series, and urban models.
Q2: What should I do if my Joyor dashboard displays an error code?
First, refer to the Error Code Diagnostic Chart above to identify the specific component (e.g., brake sensor, throttle, or motor connection). Power off the scooter, check all external waterproof cable connections leading to that component, and power back on. If the error code remains active, contact official technical support.
Q3: Why is it important to use official OEM spare parts for Joyor scooters?
Official Joyor OEM replacement parts—such as motor controllers, display screens, and hydraulic brakes—are engineered specifically for Joyor’s electrical voltage ratings (e.g., 60V systems) and frame geometry. Third-party aftermarket parts may cause electrical short circuits, void warranties, or compromise riding safety.