Category: User Guides & Support

Official Joyor user manuals, error code reference guides, quick-start setup instructions, and safety protocols to support your daily electric scooter riding.

  • EU E-Scooter Speed Regulations & Joyor 25 km/h Speed Limiter Setup Guide

    EU E-Scooter Speed Regulations & Joyor 25 km/h Speed Limiter Setup Guide

    Understanding European E-Scooter Speed Regulations (25 km/h Limit)

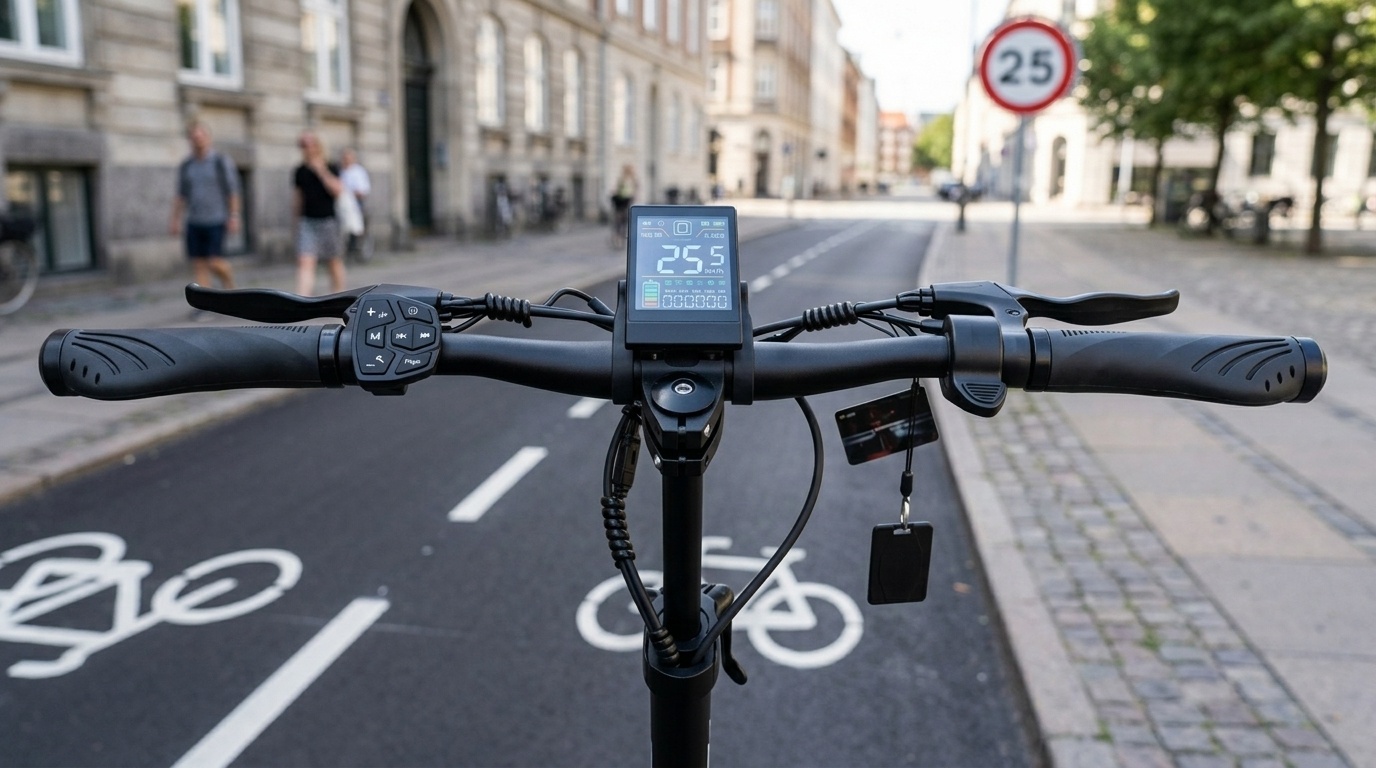
    Across European Union member states (including France, Spain, Germany, Italy, and the Netherlands), electric kick-scooters operating on public roads, bike lanes, and municipal infrastructure are subject to strict legal speed limits. Under current EU directives, the standard maximum speed limit for light electric vehicles (PLEVs) is capped at 25 km/h (15.5 mph), with certain regions such as Germany imposing a strict 20 km/h threshold for street approval (eKFV).

    To ensure road legality while preserving the option for private property or off-road performance, Joyor electric scooters are equipped with configurable motor speed limiting features via internal P-Settings and hardware limiters.


    1. How to Adjust the 25 km/h Speed Limiter via P15 (P-Settings Menu)

    Most Joyor models equipped with a color LCD throttle display allow riders to adjust peak output speed electronically through the P15 speed percentage parameter.

    Step-by-Step P15 Speed Adjustment Procedure:

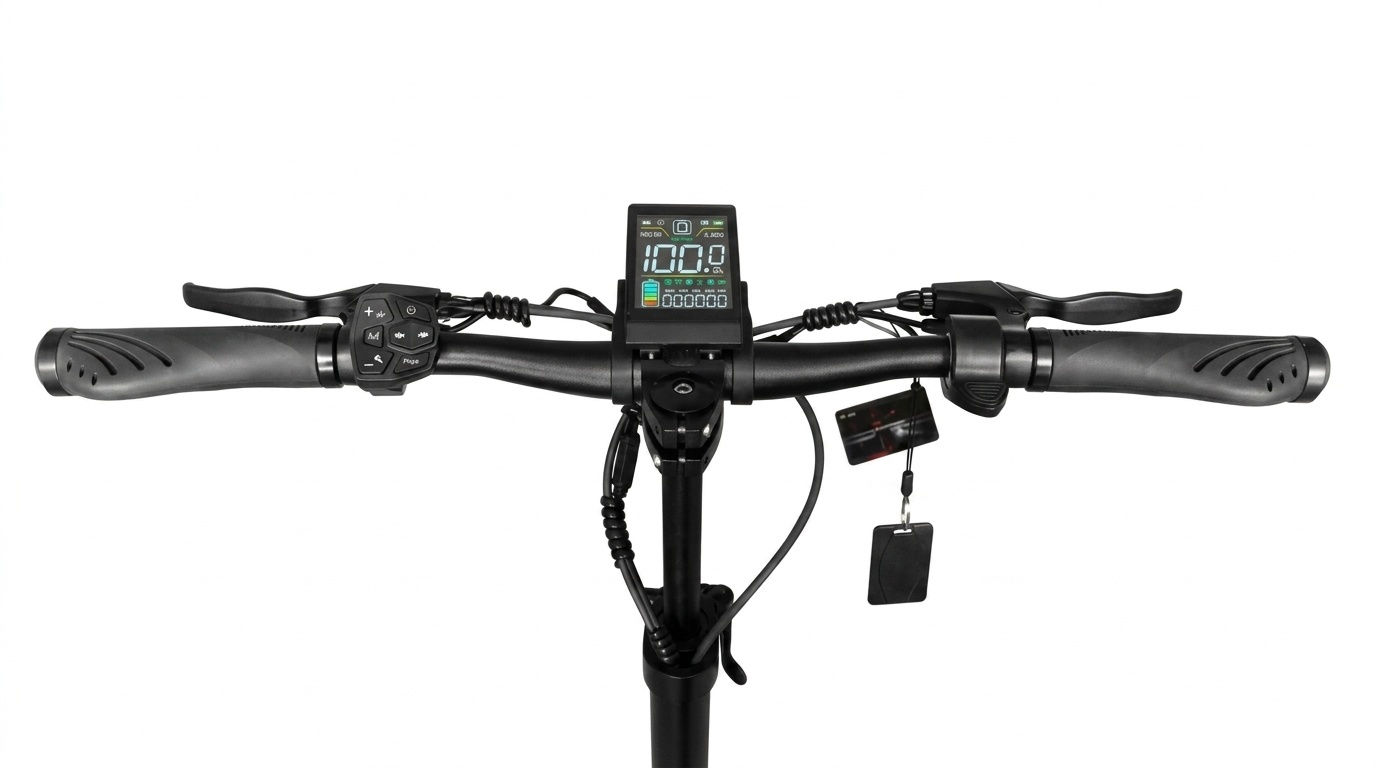
    1. Access P-Settings Menu: Press and hold the Power and Mode buttons simultaneously for 3 seconds until the display enters the P-Menu.
    2. Navigate to P15: Short press the Power button repeatedly to cycle through parameters until P15 is displayed.
    3. Adjust Speed Percentage: Press the Mode button to change the percentage value:
      • Set to 25% – 50%: Limits top speed to approximately 20 – 25 km/h for EU street compliance.
      • Set to 100%: Restores 100% full motor power output for private property riding.
    4. Save & Exit: Hold Power and Mode together for 3 seconds, or wait 5 seconds without pressing any button to auto-save settings.


    2. Hardware Speed Limiter Cable (Select European Models)

    Certain factory-restricted regional models feature a physical dual-pin speed limiter wire located inside the deck controller harness.

    • Speed Limited Mode (Connected): When the two blue or white single-pin jumper cables inside the deck harness are plugged together, the controller caps maximum speed at 25 km/h regardless of display settings.
    • Full Performance Mode (Disconnected): Unplugging the single-pin limiter cable releases unrestricted controller amperage for off-road closed-circuit tracks.

    ⚠️ Important Legal Disclaimer

    Unlocking or removing the 25 km/h speed restriction is intended exclusively for private property, private race tracks, or off-road use where permitted by local law. Operating an unrestricted e-scooter on public roads in the EU may result in fines, vehicle impoundment, or invalidation of liability insurance.


    3. European Country-by-Country Speed Limit Overview

    Country / Region Legal Max Speed Helmet Requirement Permitted Riding Areas
    Spain (DGT) 25 km/h Recommended / Local rules apply Bike lanes, urban streets (Not on sidewalks)
    France 25 km/h Mandatory under 12 yrs Cycle paths, roads with ≤ 50 km/h limits
    Germany (eKFV) 20 km/h Optional Cycle lanes, roads (Abe certificate required)
    Italy 20 km/h (6 km/h pedestrian zone) Mandatory for minors Cycle paths, roads with speed limit ≤ 50 km/h


    4. Best Practices for Safe Municipal Commuting

    • Use Eco/Single Motor Modes in Pedestrian Zones: Engage Eco mode or rear single-motor drive on dual-motor models (like T10 or S10S-Z) when navigating crowded city streets.
    • Maintain Regular Tire Pressure: Keeping pneumatic tires inflated between 45-50 PSI prevents range loss while keeping speed readouts accurate.
    • Inspect Brake Cut-off Sensors: Ensure electronic brake cut-off switches are functioning properly so power to the motors is instantly cut when pulling brake levers.


    Frequently Asked Questions (FAQ)

    Q1: Is it legal to override the 25 km/h speed limit on my Joyor scooter in Europe?

    On public roads, bike lanes, and municipal pathways across EU countries, electric scooters must strictly adhere to local speed caps (typically 20 km/h or 25 km/h). Overriding the limiter is only legal on private property or non-public closed circuits.

    Q2: Why does my Joyor scooter only reach 25 km/h even when set to Turbo mode?

    If your scooter stays capped at 25 km/h regardless of throttle mode, check if the P15 parameter in P-settings is set below 100%, or verify whether the internal controller hardware speed limiter loop wire is connected.

    Q3: Does changing the P15 speed setting alter speedometer accuracy?

    No. P15 regulates peak controller current percentage, not wheel diameter calculation. Speedometer measurement is governed by the P06 (Wheel Diameter) and P07 (Magnet Pole Count) settings.
  • Official Joyor E-Scooter User Manuals, Error Codes & Spare Parts Guide

    Official Joyor E-Scooter User Manuals, Error Codes & Spare Parts Guide

    Official Joyor E-Scooter Technical Support & Documentation Portal

    Whether you need to configure your scooter’s personalized P-settings, resolve an unexpected dashboard error code, or source OEM replacement components, having access to accurate technical documentation is essential. This official Joyor E-Scooter Support Guide consolidates user manuals, LCD display error diagnostic tables, and spare parts identification for all flagship models including the Joyor T Series (T10, T6) and S Series (S10S-Z, S5).


    1. Dashboard Diagnostic & LCD Error Code Reference Chart

    Modern Joyor electric scooters feature intelligent onboard diagnostic systems that display real-time fault codes on the central LCD display screen. If your scooter shows an error indicator icon or error number, refer to the diagnostic troubleshooting matrix below:

    Error Code Identified Issue Potential Cause Recommended Action
    E-01 / E-02 Brake Lever Signal Fault Brake lever cut-off sensor stuck or disconnected Inspect brake lever return spring and verify wiring harness connector tightness.
    E-03 / E-04 Throttle Signal Error Hall sensor inside thumb/trigger throttle damaged Check throttle cable pin connections; replace throttle assembly if voltage output is erratic.
    E-05 Under-Voltage Protection Battery voltage dropped below BMS cut-off threshold Recharge battery completely with official charger. Inspect battery terminals if fault persists.
    E-06 Motor Phase Line Error Motor Hall sensor disconnect or phase wire damage Inspect motor cable waterproof connector near lower swingarm; verify pin alignment.
    E-07 / E-08 Controller Communication Fault Main controller bus error or display connection fault Check wiring harness between LCD screen and lower deck controller for pinch points or moisture.


    2. Accessing Official Joyor User Manuals & Quick-Start Guides

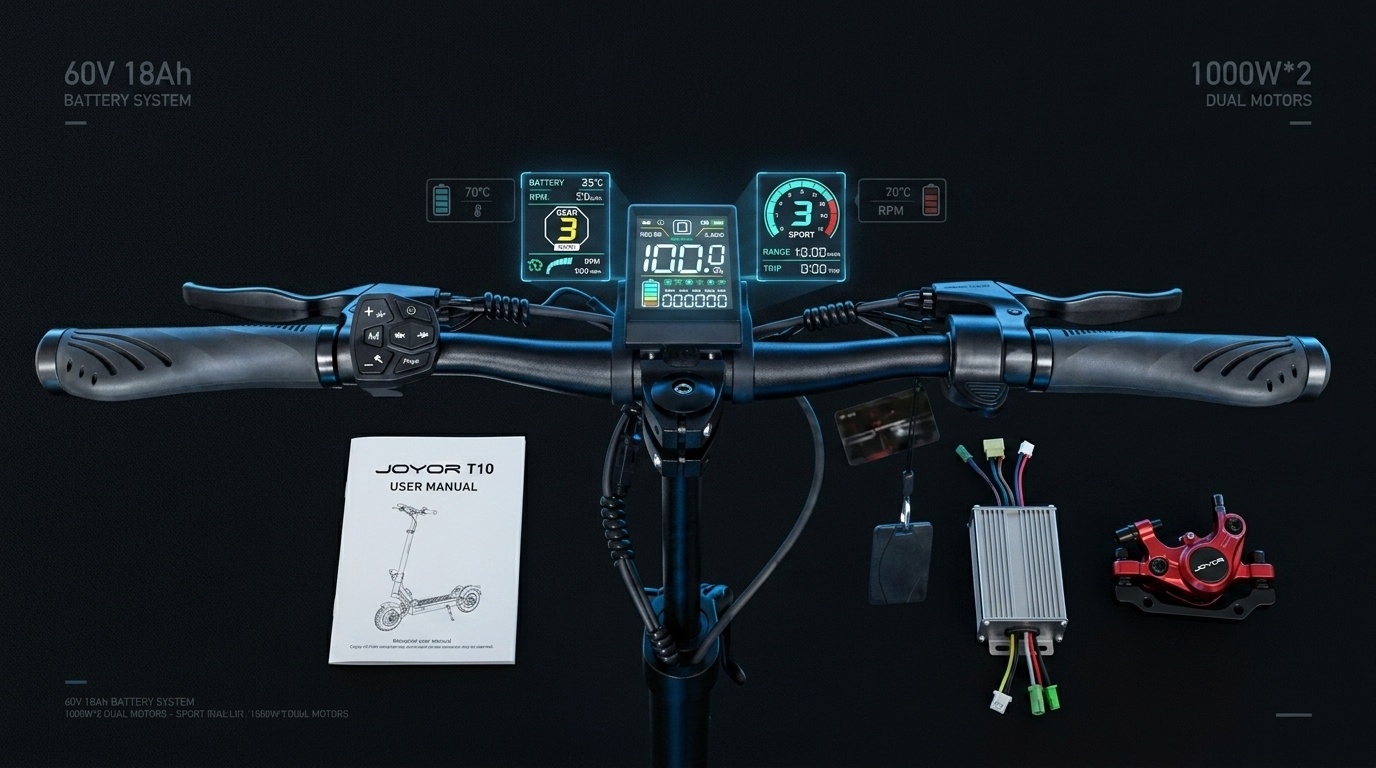
    Official user manuals provide critical information regarding initial assembly, folding mechanisms, NFC keycard pairing, and safety guidelines. Download digital manual copies or review quick setups for popular series:

    • Joyor T Series Manuals (T10 / T6): Covers NFC keycard setup, color LCD screen navigation, dual-motor power modes, and frame folding latch adjustments.
    • Joyor S Series Manuals (S10S-Z / S5): Detailed instructions for 60V / 48V dual motor operation, hydraulic brake adjustment, spring suspension tuning, and off-road tire inflation specs.
    • Urban & Commuter Manuals (A & Y Series): Guidelines for lightweight folding scooters, solid vs. pneumatic tire upkeep, and integrated headlight operation.


    3. Genuine OEM Replacement Parts Directory

    To ensure performance, structural integrity, and rider safety, always use genuine Joyor factory spare parts during repairs or servicing. Key replacement components are categorized below:

    Electrical & Control Systems:

    • 60V / 48V Brushless Motor Controllers: Pre-programmed factory motor controllers designed specifically for T10 and S10S-Z dual-motor power delivery.
    • Smart LCD Displays & NFC Receivers: Plug-and-play central handlebar display units with built-in NFC reader integration.
    • Lithium Battery Packs & Chargers: High-density 60V and 48V original lithium-ion battery modules with integrated BMS safety protection.

    Braking & Mechanical Components:

    • Hydraulic Brake Calipers & Mineral Oil Kits: Factory front and rear disc brake calipers and bleed tools for high-speed stopping power.
    • Off-Road & Street Pneumatic Tires: 10-inch heavy-duty tubeless/pneumatic tires and heavy-walled inner tubes.
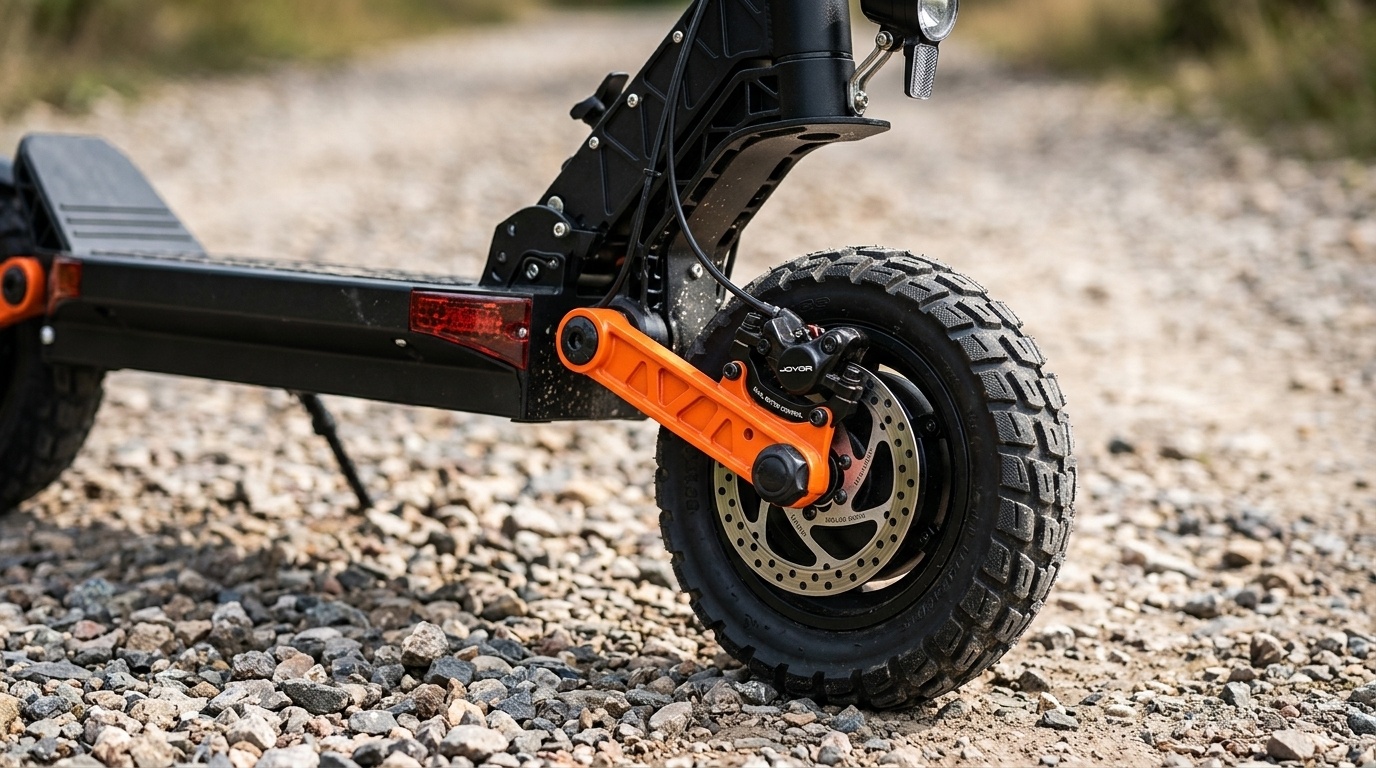
    • Swingarms & Suspension Assemblies: Replacement front/rear suspension linkage arms, pivot bushings, and shock absorbing springs.


    4. Preventive Maintenance Schedule for Peak Performance

    Following a routine maintenance routine helps prevent unexpected system errors and extends component life:

    • Every 100 km (60 miles): Check tire pressure (keep between 45-50 PSI for 10-inch off-road models). Inspect folding mechanism quick-release clamp tightness.
    • Every 300 km (185 miles): Check brake pad wear; adjust hydraulic lever tension. Tighten swingarm suspension bolts and stem folding hinges.
    • Every 1000 km (620 miles): Inspect wiring harness connectors for wear or moisture exposure. Perform a full hydraulic brake fluid flush.


    Frequently Asked Questions (FAQ)

    Q1: Where can I download the official user manual for my Joyor electric scooter?

    You can view and download official digital PDF user manuals directly from our site under the User Guides & Support category. Manuals include P-setting charts, assembly diagrams, and safety guidelines for T Series, S Series, and urban models.

    Q2: What should I do if my Joyor dashboard displays an error code?

    First, refer to the Error Code Diagnostic Chart above to identify the specific component (e.g., brake sensor, throttle, or motor connection). Power off the scooter, check all external waterproof cable connections leading to that component, and power back on. If the error code remains active, contact official technical support.

    Q3: Why is it important to use official OEM spare parts for Joyor scooters?

    Official Joyor OEM replacement parts—such as motor controllers, display screens, and hydraulic brakes—are engineered specifically for Joyor’s electrical voltage ratings (e.g., 60V systems) and frame geometry. Third-party aftermarket parts may cause electrical short circuits, void warranties, or compromise riding safety.

  • Joyor S10S-Z (S10 / S10-S-Z) Maintenance, Brake Adjustment & Upgrade Guide

    Joyor S10S-Z (S10 / S10-S-Z) Maintenance, Brake Adjustment & Upgrade Guide

    Joyor S10S-Z Heavy-Duty Performance Overview

    The Joyor S10S-Z (also widely known by riders as the Joyor S10, S10-S-Z, or S10SZ) represents the pinnacle of Joyor’s high-performance dual-motor off-road scooter lineup. Built around a high-voltage 60V system architecture with twin 1000W brushless motors, this electric scooter requires regular maintenance to sustain its high-speed acceleration, braking force, and suspension dampening. This technical guide covers routine servicing, hydraulic brake bleeding, swingarm suspension tuning, and tire replacement for your S10S-Z / S10 series scooter.


    1. Hydraulic Brake Bleeding and Pad Replacement

    The Joyor S10S-Z utilizes front and rear hydraulic oil disc brakes to deliver responsive stopping power at high speeds. Over time, air bubbles can enter the hydraulic line, causing the brake levers to feel spongy or lose pressure.

    How to Bleed Hydraulic Brakes on the S10S-Z:

    • Inspect Mineral Oil Levels: Remove the reservoir cap on the handlebar lever and verify oil level. Use mineral oil designed for bicycle/scooter hydraulic systems.
    • Attach Bleed Kit: Connect a bleed syringe with mineral oil to the caliper bleed port and a capture bottle to the upper lever port.
    • Flush Air Bubbles: Slowly push oil through the bottom caliper while squeezing the brake lever gently to force trapped air bubbles out through the top reservoir.
    • Replace Brake Pads: Inspect pad thickness regularly. If friction material drops below 1.5mm, remove the retaining pin and install fresh semi-metallic or full metallic brake pads.


    2. Swingarm Suspension and Arm Adjustment

    Equipped with dual swingarms and spring-damper suspension, the S10-S-Z handles rough terrain, gravel, and urban pavement. Proper bolt torque and lubrication prevent squeaking and wobble.

    Suspension Care Routine:

    • Check Pivot Bolts: Inspect swingarm linkage bolts every 300 km (185 miles). Torque mounting bolts to manufacturer specifications (typically 18-22 Nm).
    • Lubricate Pivot Joints: Apply lithium-based grease or silicone spray lubricant to suspension pivot joints to ensure smooth compression and reduce noise.
    • Damping Adjustments: Verify spring preload settings match rider weight to prevent bottoming out on harsh bumps.


    3. 60V Battery Management & Charging Practices

    The high-capacity 60V 18Ah lithium battery powers dual 1000W motors. Adhering to strict battery care practices maximizes service life and cell balance.

    Metric Recommended Spec Maintenance Action
    System Voltage 60V Nominal Check full charge voltage (~67.2V) via LCD screen
    Storage Charge 50% – 70% Capacity Store in cool place if unused over 2 weeks
    Charger Type 67.2V Standard Charger Always plug charger into wall before scooter port


    4. Off-Road Pneumatic Tire Care and Replacement

    The 10-inch off-road pneumatic tires provide traction across loose dirt, sand, and asphalt. Correct tire pressure is critical to avoid pinch flats and premature rim wear.

    • Optimal Inflation: Maintain tire pressure between 45 to 50 PSI depending on rider weight and terrain type.
    • Sealant Application: Inject tire sealant through the valve stem to automatically repair minor punctures up to 3mm.
    • Tire Tread Inspection: Replace worn tread when groove depth drops below 1mm to preserve off-road cornering grip.


    5. Recommended Accessories and Upgrades for Joyor S10S-Z

    Enhance riding comfort, safety, and utility on your Joyor S10 / S10S-Z with official upgrades:

    • Heavy-Duty Handlebar Extenders: Mount additional lights, phone mounts, or GPS units without cluttering central controls.
    • Reinforced Fenders: Upgrade to high-impact splash guards for wet or muddy off-road trails.
    • Waterproof Storage Bags: Hard-shell frame bags designed to fit the front stem tube without interfering with steering geometry.


    Frequently Asked Questions (FAQ)

    Q1: Are Joyor S10, S10-S-Z, and Joyor S10S-Z the exact same scooter model?

    Yes. Joyor S10S-Z is the official updated model designation. Riders and community forums often refer to this model as the Joyor S10 or S10-S-Z. All key replacement parts, including 60V controllers, 10-inch off-road tires, and hydraulic brake components, are fully compatible across these naming variations.

    Q2: Why are my hydraulic brake levers feeling soft on my S10S-Z?

    Soft or spongy brake levers typically indicate air bubbles inside the hydraulic lines or low mineral oil volume. Performing a standard hydraulic brake bleed and topping up mineral oil will restore firm lever pressure and maximum braking efficiency.

    Q3: What tire pressure should I use for off-road riding on the Joyor S10S-Z?

    For optimal off-road traction and puncture resistance, keep tire pressure set between 45 and 50 PSI. Slightly lower pressure (around 42-45 PSI) can be used for extra traction on loose sand or dirt, provided rim bottom-out protection is maintained.

  • Joyor T10 NFC Smart Keycard Setup, Pairing & Emergency Reset Guide

    Joyor T10 NFC Smart Keycard Setup, Pairing & Emergency Reset Guide

    Joyor T10 NFC Smart Ignition System Overview

    The Joyor T10 electric scooter features an advanced NFC (Near Field Communication) keycard ignition system integrated directly into its color LCD throttle display. Designed to prevent unauthorized access and theft, the NFC security framework requires a verified encrypted signal card before powering on the 52V dual-motor system. This comprehensive guide covers keycard programming, adding secondary cards, setting up smartphone NFC emulation, and executing emergency resets if cards are lost.

    How the Joyor T10 NFC Ignition System Works

    Unlike traditional key ignition cylinders that can be picked or bypassed mechanically, the Joyor T10 display unit contains an embedded RFID reader operating at the standard 13.56 MHz frequency. When the power button is turned on, the LCD display activates in a locked state, displaying a blinking “CARD” or lock icon. Rolling or throttling the scooter is disabled until a paired card is tapped against the sensor region.

    Step-by-Step: Pairing New or Secondary NFC Cards

    Every Joyor T10 comes with two pre-paired master NFC keycards from the factory. If you purchase additional replacement cards or need to re-pair existing ones, follow this step-by-step procedure:

    1. Enter NFC Programming Mode: Long press the Power button on the display until the screen turns on and shows the lock icon.
    2. Master Card Authentication: Hold your original master card against the NFC sensing area (usually located at the lower center or back of the LCD housing) until you hear a long beep.
    3. Add New Card: Immediately tap the new unpaired NFC card against the sensor. The display will emit two quick beeps, confirming the new card UID has been saved to the controller memory.
    4. Exit Setup: Wait 5 seconds without tapping. The display will auto-save and exit programming mode.

    Setting Up Smartphone NFC Unlocking (Android & iOS)

    For added convenience, riders can duplicate their physical Joyor T10 card key code to an NFC-enabled smartphone or smart ring:

    Android Devices (NFC Wallet / Key Emulation)

    • Download an NFC Key Emulator or use your phone’s built-in Wallet app.
    • Scan your physical Joyor T10 card to read its unique 4-byte or 7-byte UID.
    • Save the card profile to your phone and enable “Tap to Pay / Transit” default emulation.
    • Tap your phone back against the T10 screen to unlock the scooter.

    Apple iPhones (iOS Shortcut / Wallet Integration)

    Due to iOS security restrictions on UID cloning, iPhone users can utilize the Apple Wallet transit card workaround or pair an encrypted third-party NFC sticker attached to the phone back.

    Emergency Reset Procedure: Lost All NFC Cards

    If both primary and secondary NFC cards are misplaced, follow this safety override to regain control of your scooter:

    ⚠️ Hardware Bypass Procedure (Card Lost)

    1. Disconnect the main battery pack by unscrewing the deck plate to prevent electrical arc.
    2. Unplug the 5-pin waterproof main cable connecting the handlebar display to the main controller.
    3. Wait 2 minutes to drain residual capacitor charge.
    4. Plug in a certified factory replacement Joyor T10 display unit (which comes with a pre-matched set of new NFC cards).
    5. Re-connect battery power and test system startup.

    Joyor T10 NFC Troubleshooting & Diagnostics

    Symptom Probable Cause Solution
    Display lights up but won’t accept tap Incorrect tapping zone or phone case too thick Tap card flush against the exact center of the screen housing; remove thick phone cases.
    Screen displays E-06 when tapping card Display-to-controller communication delay Check main handlebar harness connector; ensure waterproof plug pins are fully seated.
    Card beeps but throttle doesn’t respond Brake cut-off sensor engaged Verify brake levers fully spring back to home position (check Error Code E-04).


    🛒 Need Replacement NFC Cards or Displays?

    Order original Joyor T10 encrypted NFC keycards and display replacement kits directly from our official store.

    Shop Official Joyor T10 Accessories →